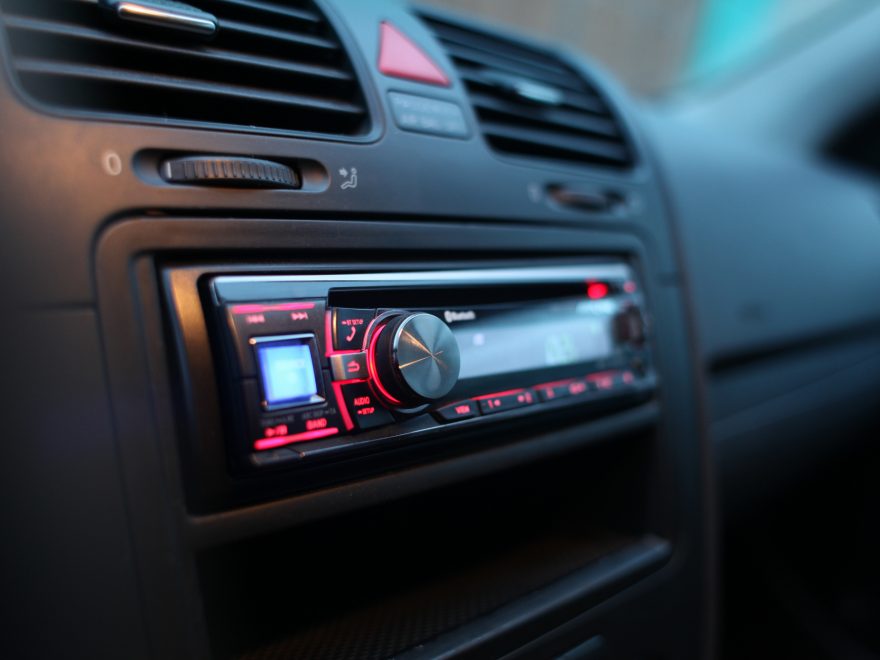
You’ve got a sweet ride, but do you have sweet sound?
If you want to up your musical game, you’ll have to install a new car stereo.
You might be wondering how to install a car stereo. Don’t worry, it’s not as hard as it might seem. Read below for a quick rundown on how to save money by installing it yourself.
1.) Get Together A Few Tools.
The tool you are going to be using are nothing to labor intensive, so don’t worry. You’ll have to have a phillips head and flathead screwdriver, a wrench for your battery, a radio removal tool, and possibly a panel removal tool.
Find Your Online Car Repair Manual Today! ->>
2.) The Most Obvious Step in How to Install A Car Stereo…Take Out The Old Stereo.
First, set your parking brake and disconnect the negative cable from your battery. You don’t want to fry any electrical components while you are working on your car.
Next, you will want to remove the trim from around the stereo. Make sure you put it somewhere where it doesn’t get scratched, like your backseat.
Most of the time it’s held in place by some simple screws. Make sure you don’t lose the screws though!
You might have to take off the trim that has various buttons and knobs first. Use your panel removal tool for this so that you don’t accidentally split or break the trim.
After getting rid of the trim, there still might be some components that you’ll have to get out of the way to access your radio. These should just pull out, but check for screws holding them in first.
Different Cars Have Different Things Holding in the Old Stereo
For most cars, the stereo is held in using screws. Unscrew these and you should be good to go.
Occasionally, you’ll run into a car that uses a spring clip system. This is where your radio removal tool will come into play.
This tool will either be a long horseshoe type shape or will have a notched shaft at one end and a circle on the other.
Make sure you find out which you’ll need before buying it from you car parts store. They can tell you anything you need to know about the tools needed if you ask them how to install a car stereo.
Put both ends into the small slots that are on the front of the radio. This will release the mechanism holding it in place, and it should pull out rather easily.
3.) Use Your Cell Phone to Take a Picture of How The Stereo is Wired
You’ll need this later when you are plugging in your new stereo system. You will then pull the wires out of the old stereo, and dispose of it.
4.) Hook Up Your New Stereo
Get your new stereo and match the wires of the old harness to the new one. If your car stereo doesn’t have wire harnesses, you’ll have to match them manually by following the wiring diagram that came with your new stereo.
Make sure you use zip ties if you have to bundle any wires together. This will prevent them from coming apart and last far longer than tape.
Connect the power source before you connect the remaining the wires that go to the antenna and the wiring adapter.
Insert your new stereo into it’s designated spot. Reconnect any components that you had to take off, and then put the trim back into place.
Congratulations, you’ve just installed your new stereo without having to pay labor fees!
Check Out More DIY Stuff On Our Site
As you can tell, a how to install a car stereo guide is pretty straight forward. There are some improvements to your car that aren’t quite as simple.
For this, we have you covered with our auto repair blog. Check out our repair manuals as well for information specific to your car!

